

Gardening guide
How to Harden Off Seedlings Before Planting in South Texas
Move young plants from a protected growing space to your garden gradually. Let their condition and the weather guide each step.
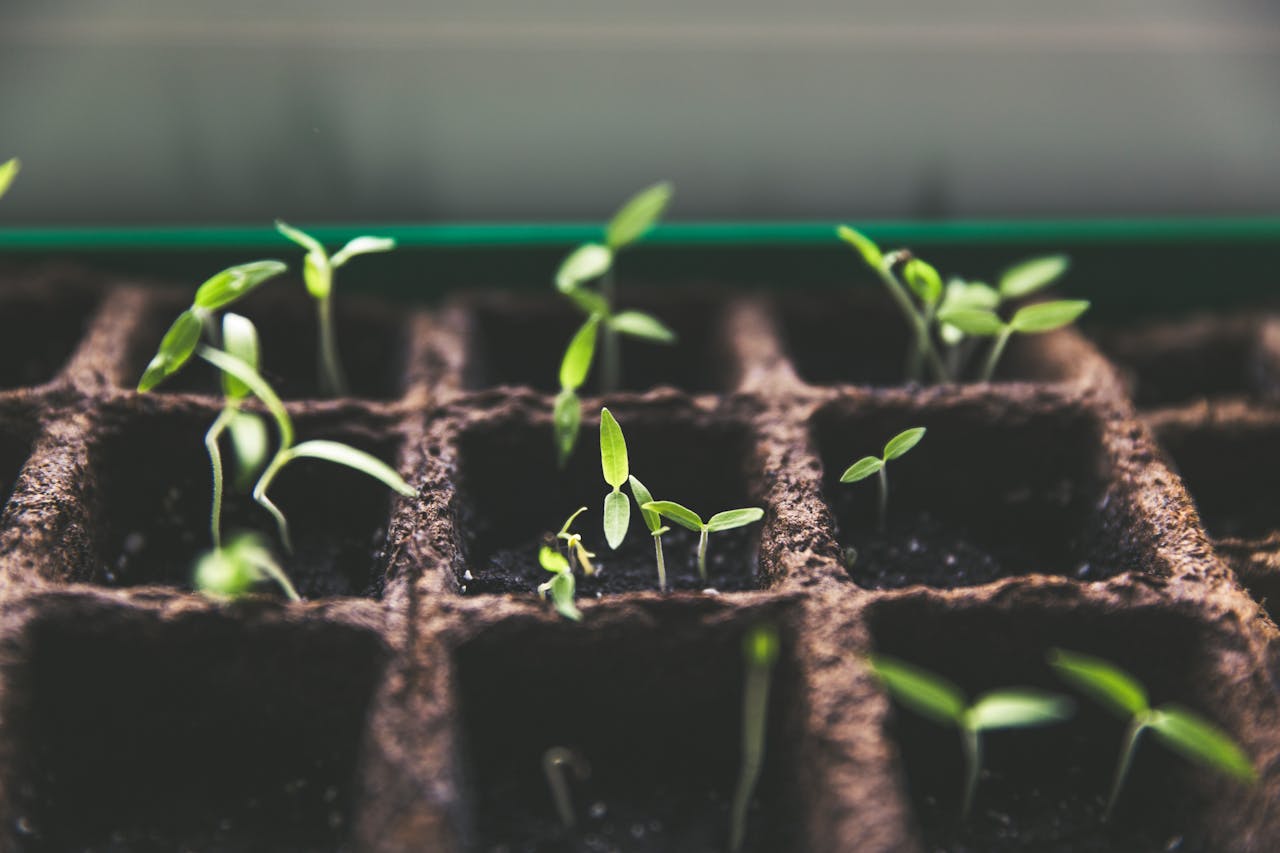

To harden off seedlings, introduce them to outdoor light, wind and temperature gradually before planting. Allow roughly 7–14 days for plants raised indoors or under cover. Begin in a shaded, sheltered spot, then increase exposure as the plants adjust. Texas A&M recommends starting about 10 days before transplanting. Purchased starts may already be acclimated, so ask before repeating the process. Texas A&M planting guidance
For a garden around San Antonio or Poteet, plan the move around the conditions at your bed. A protected porch and an exposed afternoon planting site are different environments, even on the same property. This guide helps you make that transition in manageable steps.
Do your seedlings need hardening off?
Start with their recent growing conditions. Seedlings raised under indoor lights or in a greenhouse need a transition to outdoor conditions. Plants already spending full days outdoors in conditions similar to your garden may need less adjustment. Acclimation depends on both where plants came from and where they are going. Nevada Extension explains those differences.
When buying vegetable starts, ask: “Have these been outdoors in direct sun, and what should I do before planting them at home?” Tell the nursery whether your bed gets morning sun, afternoon sun or exposure through most of the day. Keep the plant labels so you can check the crop and variety later.
Also check whether it is the right planting season. Hardening off does not make a warm-season vegetable frost-proof. Use the San Antonio and Poteet planting guide to plan your crop, then check the forecast before moving it outside.
How to harden off seedlings, step by step
Think of these as stages to work through over roughly one to two weeks. They are not deadlines. Repeat an easier stage when conditions change or a plant struggles; do not add exposure simply because another day has passed.
1. Choose a sheltered starting place
Use outdoor shade with protection from strong wind. Start on a mild day with about two hours outside, then return the tray to its protected growing space. Nebraska Extension recommends an initial two to three hours in shade. Set a reminder for the return trip so a short first outing does not become an unattended full day. Nebraska's hardening guide
2. Extend the outdoor time gradually
As the plants tolerate the starting exposure, leave them out longer and introduce a little direct sun. Build toward the light conditions they will actually receive. University of Minnesota Extension recommends gradually increasing both outdoor time and sunshine, while initially bringing plants back inside before nighttime temperatures drop. Its planting dates apply to Minnesota; the gradual-exposure method applies here. Read the acclimation method.
3. Check the plants before progressing
Look at the leaves and stems when you bring the tray in, and again before its next outing. If plants develop brown patches or wilt dramatically, move them back to protection and allow time to recover. UF/IFAS recommends a recuperation day for those symptoms. Return to a gentler exposure rather than trying to catch up. UF/IFAS transplant guidance
4. Work toward a full suitable day outdoors
The goal is a plant that can handle its intended growing conditions. Later in the process, extend the trial through the part of the day that best represents the planting site. Check the forecast before leaving plants out overnight. Maryland Extension advises bringing tomato and pepper transplants indoors when nights below 50°F are expected; other crops have different tolerances. Check crop-dependent cold precautions.
Manage moisture, sun and wind together
Check the mix instead of watering by the calendar. Small containers can dry rapidly in direct sun and wind. Feel the growing mix, check that water can drain, and inspect individual cells rather than assuming the whole tray is equally moist. Nevada Extension emphasizes monitoring small containers during acclimation. Small-container precautions
Hardening off should not become a drought test. Water as needed and avoid deliberately wilting the plants. A useful tray note records the time outside, sun exposure and what the mix felt like when the plants returned. That gives you a better starting point for tomorrow than a fixed instruction to water once each day.
Pause outdoor trials during strong wind or severe storms. Iowa State recommends moving tender starts back under protection when those conditions threaten. Arrange a return spot before carrying trays outside; if the weather turns, you will know exactly where to put them. Iowa State's weather precautions
Heat reflected from bare ground or plastic mulch can also injure tender transplants. Rutgers documents wilting, bleached stems and collapse following excessive exposure. Avoid using a very hot surface as the first staging area. Rutgers' heat-injury examples
How to transplant seedlings after hardening off
Have the bed or container ready before taking plants out of their cells. Set out labels, a trowel and water, and check the recommended spacing. For pots or a new bed, choose the appropriate growing material with our raised-bed soil and potting mix comparison.
- Choose a gentler planting time. A cloudy, calm day or late afternoon reduces immediate exposure.
- Water the starts before removing them. Keep the root ball together and release it carefully from its container; avoid pulling the plant up by its stem.
- Use the depth and spacing appropriate to the crop. Make the hole large enough for the roots and backfill gently.
- Water the root area after planting. Then monitor the soil, keeping it moist rather than saturated.
These handling and aftercare steps follow Maryland Extension's transplanting guidance. For late-summer plantings, Texas A&M also recommends temporary sun protection; shade on the plant's west side is one option. Texas planting advice
Common hardening-off questions
Can I harden off seedlings in one day?
Plan a gradual transition. If you need to plant sooner, ask how the starts have already been grown and acclimated. A deadline does not tell you what the plant can tolerate.
What if seedlings wilt after transplanting?
Check root-zone moisture and exposure before adding more water. A wilted plant in wet soil needs a different response from one with a dry root ball. If damage continues, photograph the whole plant, the affected area and its growing location, and ask your nursery or county Extension office for help identifying the cause.
Do seedlings need fertilizer to recover?
Do not assume extra fertilizer is the answer to stress. Texas A&M advises against fertilizing during hardening off. After planting, follow crop-specific guidance and the product label rather than using a stronger mix to hurry recovery.
Before you bring your plants home
Write down the crop you want to grow, where it will be planted and when you hope to plant it. Contact Bodega Gardens to check current vegetable-start availability and ask how those plants have been acclimated. We are in Poteet, serving gardeners throughout the San Antonio area.
Sources and further reading
- Texas A&M AgriLife Extension: Planting (EHT-075)
- University of Minnesota Extension: Starting seeds indoors
- Nebraska Extension: Hardening Off Transplants
- Iowa State University Extension: Selecting, Hardening, and Planting Bedding Plants
- University of Maryland Extension: Planting Vegetable Transplants
- UF/IFAS: Starting Transplants Indoors
- Rutgers Cooperative Extension: Hot Dry Weather and Transplant Death
- University of Nevada, Reno Extension: Hardening Off Plants


